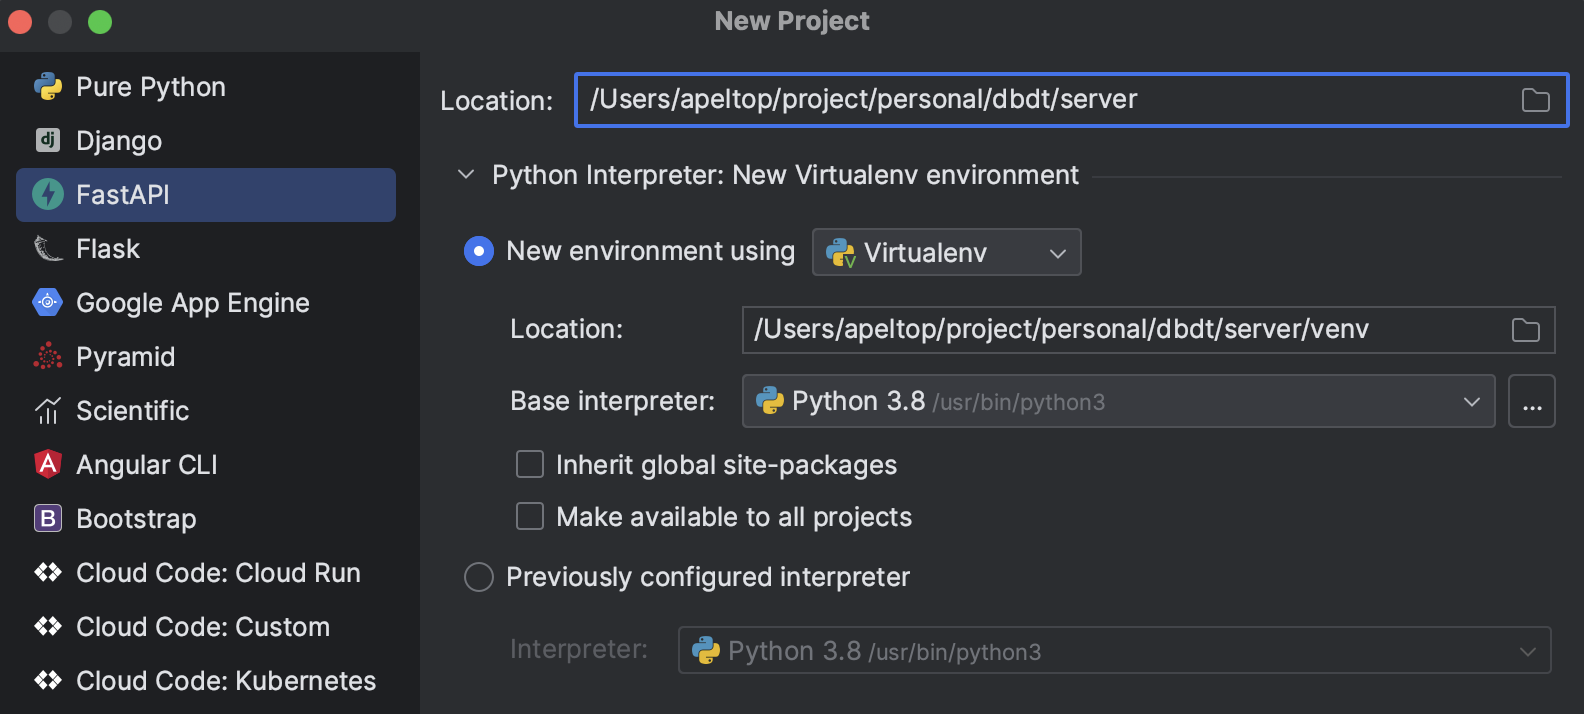
프로젝트 생성
PyCharm 을 사용해 새로운 프로젝트를 만들 때 FastAPI 를 선택할 수 있다.
Virtualenv 를 사용하여 프로젝트를 생성하였다.
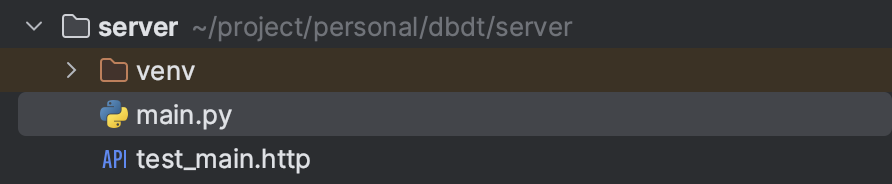
생성 결과는 매우 간단하다.
main.py 와 test_main.http 파일 뿐이다.
소스 코드
main.py
from fastapi import FastAPI

app = FastAPI()


@app.get("/")
async def root():
    return {"message": "Hello World"}


@app.get("/hello/{name}")
async def say_hello(name: str):
    return {"message": f"Hello {name}"}
test_main.http
# Test your FastAPI endpoints

GET http://127.0.0.1:8000/
Accept: application/json

### 1

GET http://127.0.0.1:8000/hello/User
Accept: application/json

### 1
실행
python -m uvicorn main:app --reload

# INFO:     Will watch for changes in these directories: ['/Users/apeltop/project/personal/dbdt/server']
# INFO:     Uvicorn running on http://127.0.0.1:8000 (Press CTRL+C to quit)
# INFO:     Started reloader process [60690] using WatchFiles
# INFO:     Started server process [60692]
# INFO:     Waiting for application startup.
# INFO:     Application startup complete.
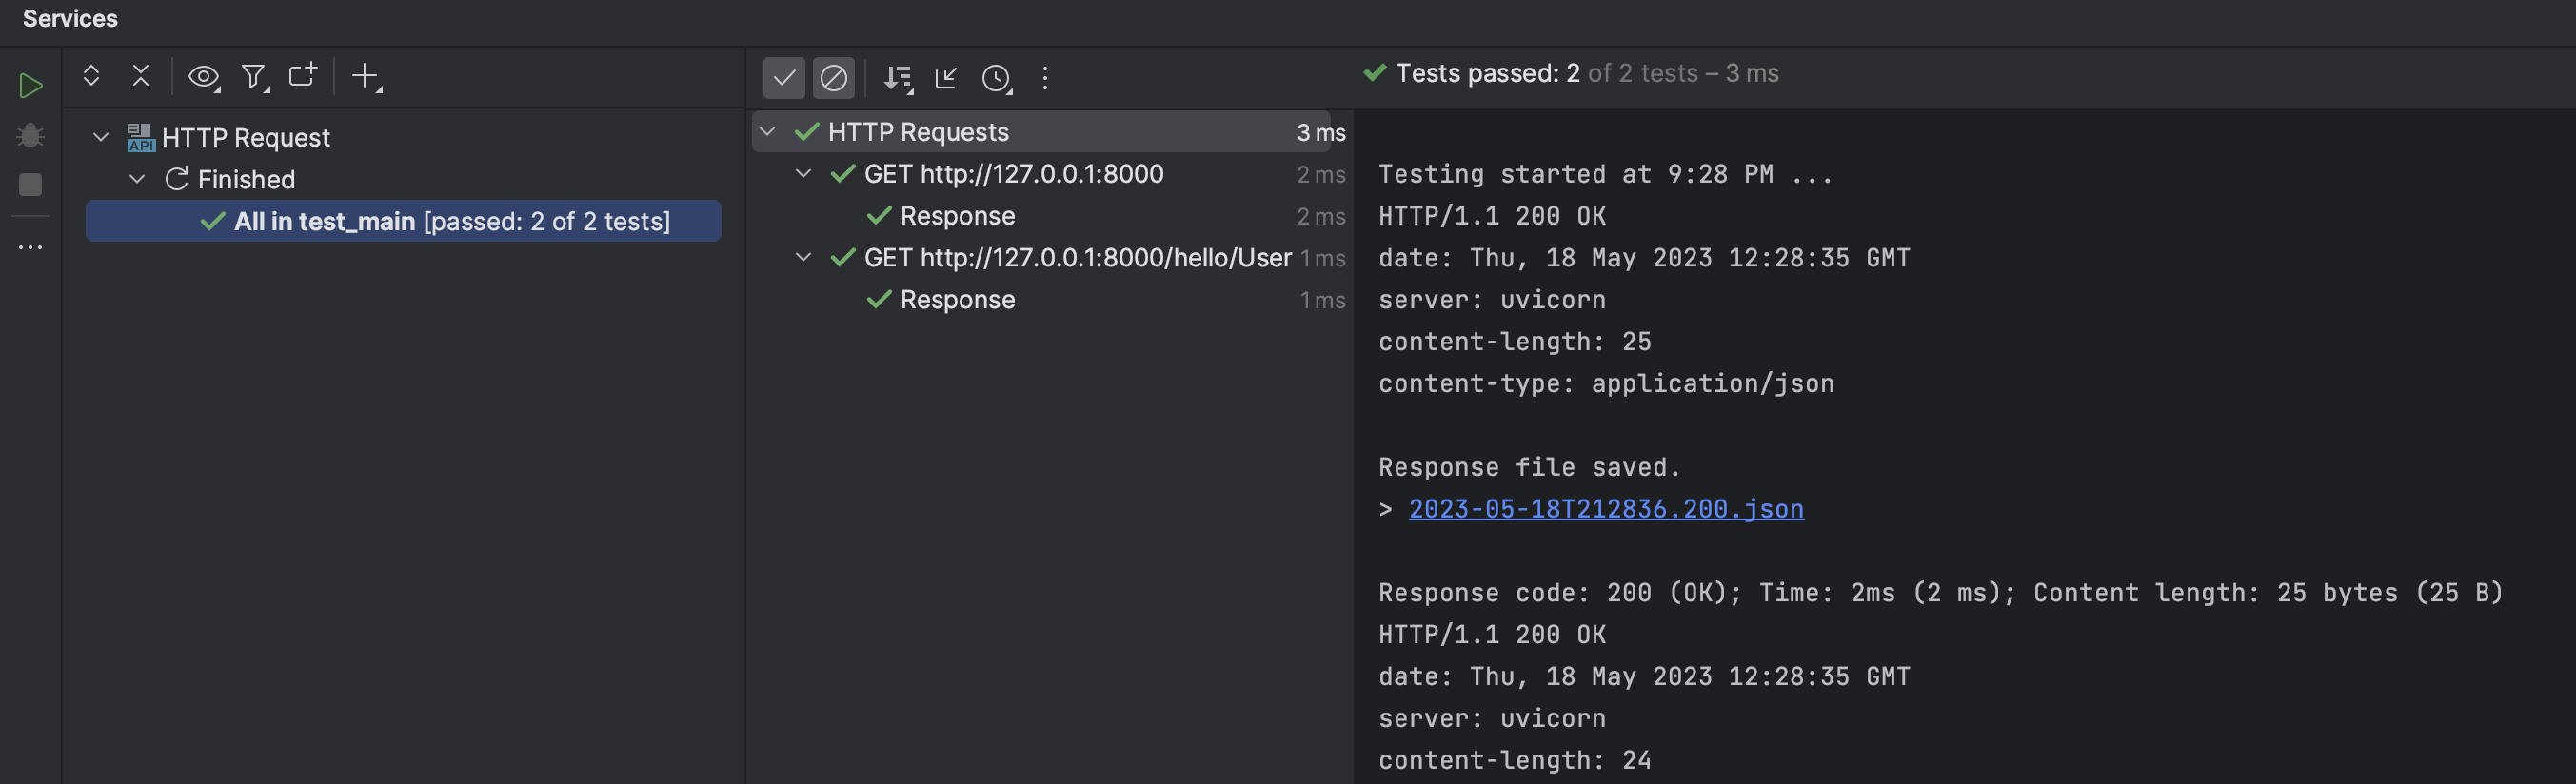
test_main.http 실행 결과
2개의 request 가 실행되며 결과를 알려준다.
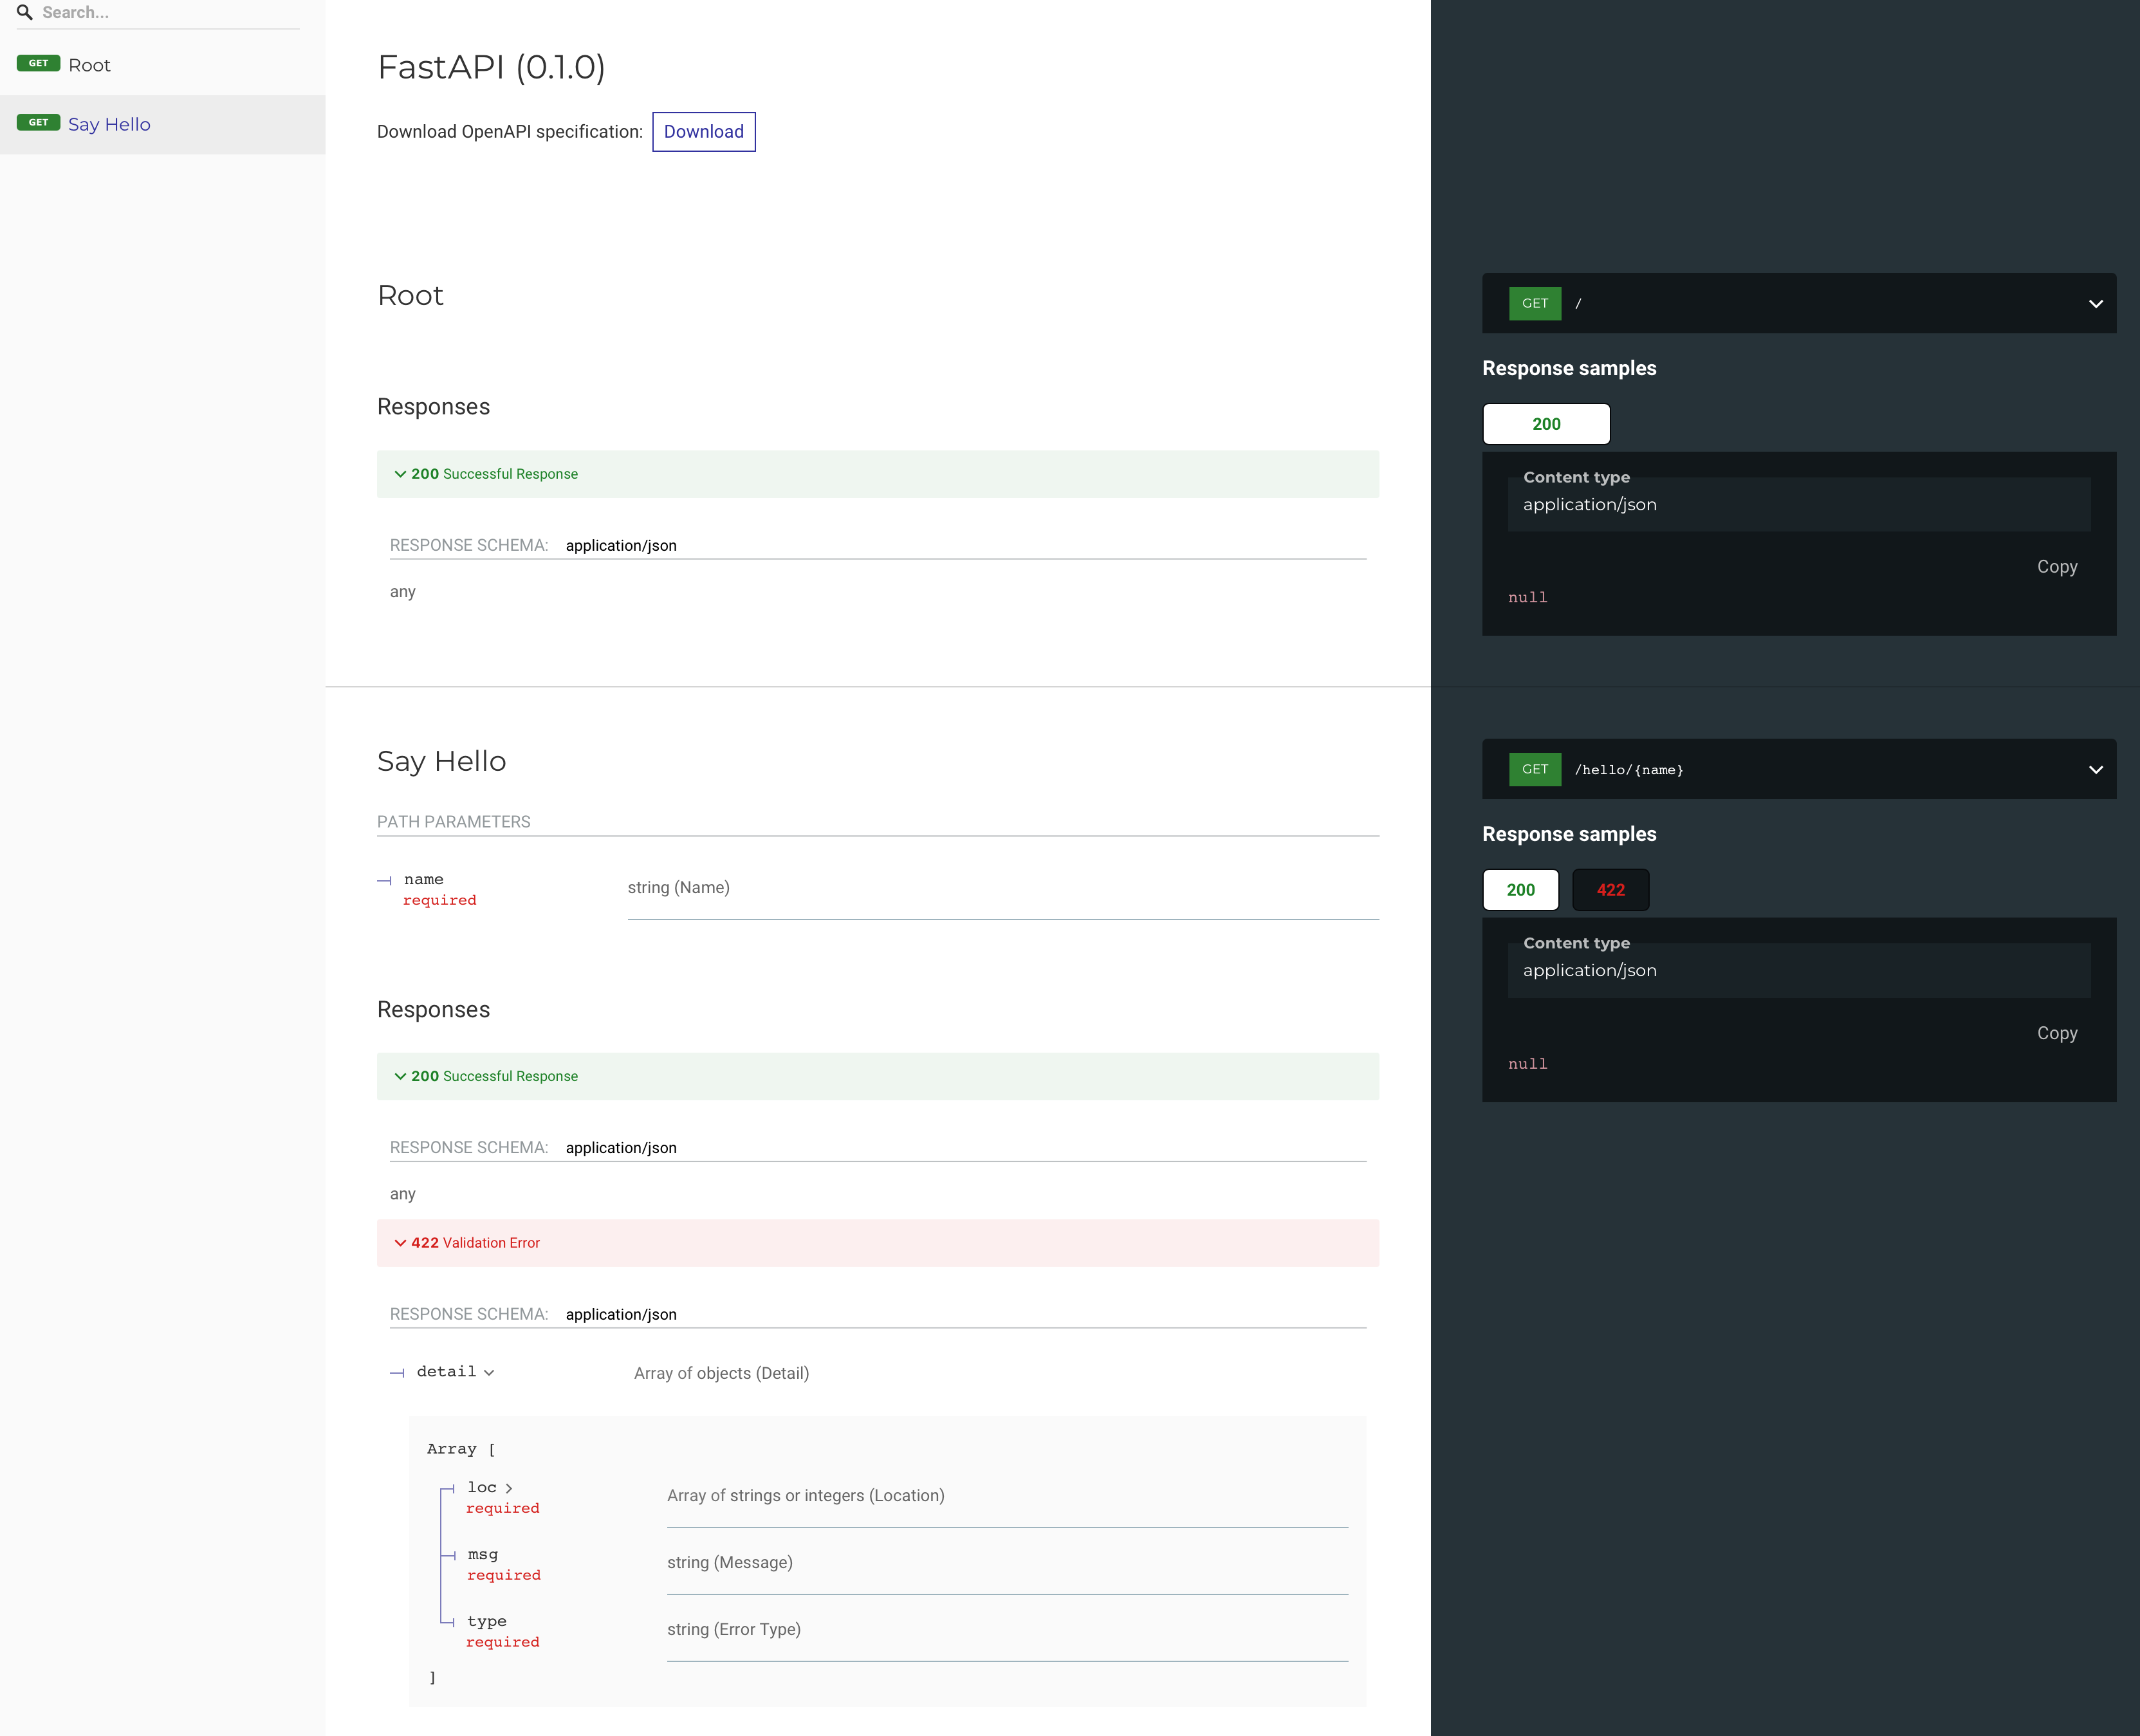
Document
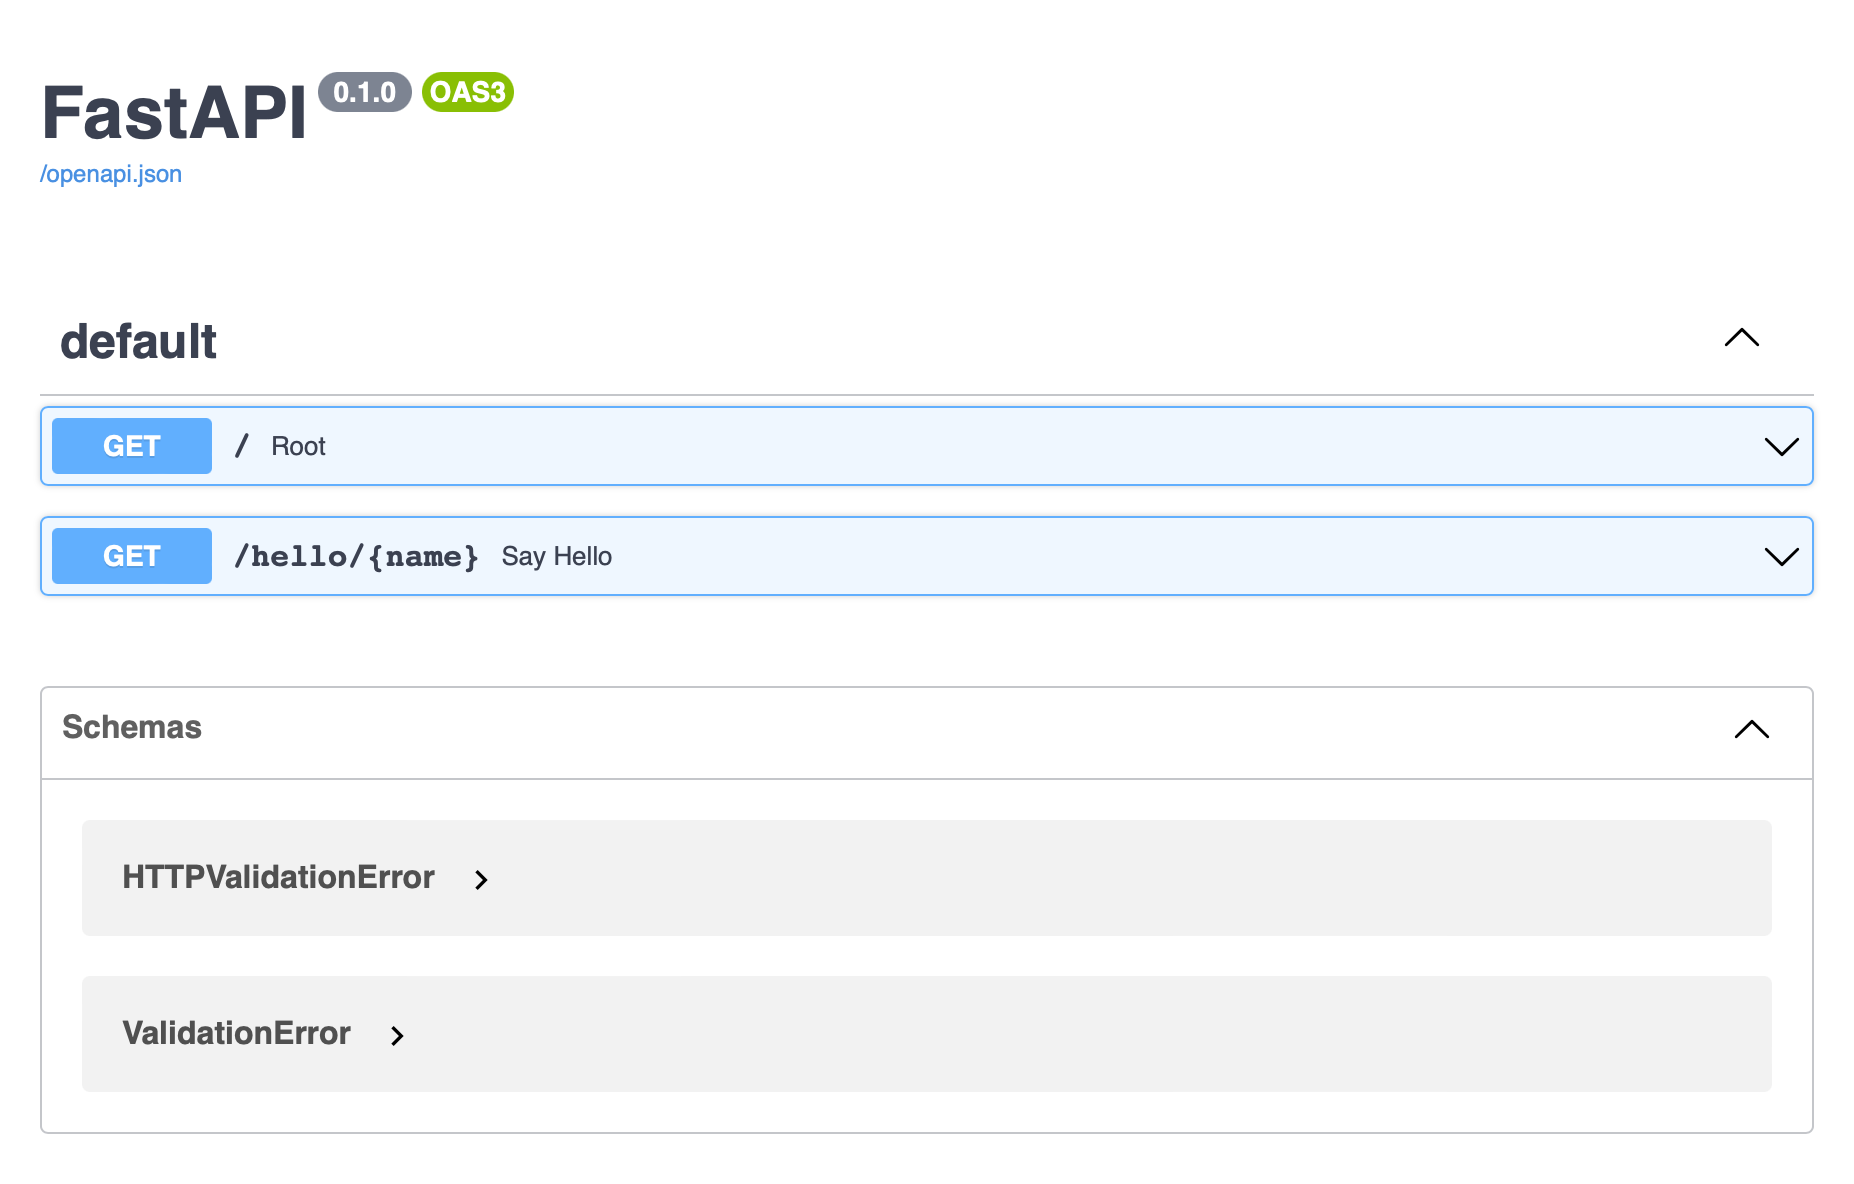
FastAPI 는 자동으로 API 문서를 생성해준다. 2가지 타입이 있다.
Swagger UI
ReDoc